Juggling a couple projects at once ensures that when paint
is drying, epoxy curing, or the weather outside foul there is always something
to get done. Repairs surrounding
Pilgrim’s mast collar & partners have been an ongoing, "back burner" project over the past
couple months.
Nautical Lingo: The
partners are the section of the deck or cabin top through which the mast
passes. Typically this section of the
deck is reinforced to accommodate additional forces.
Circa 2002 Pilgrim’s previous owner suffered a dismasting due
to the failure of a turnbuckle. Pilgrim received
a taller, double spreader Isomat
NG-80 mast as a replacement. The mast
install included new standing rigging, mast step and deck collar with blocks
for directing lines aft to the cockpit.
 |
| Pilgrim's mast collar with five blocks for directing lines aft. |
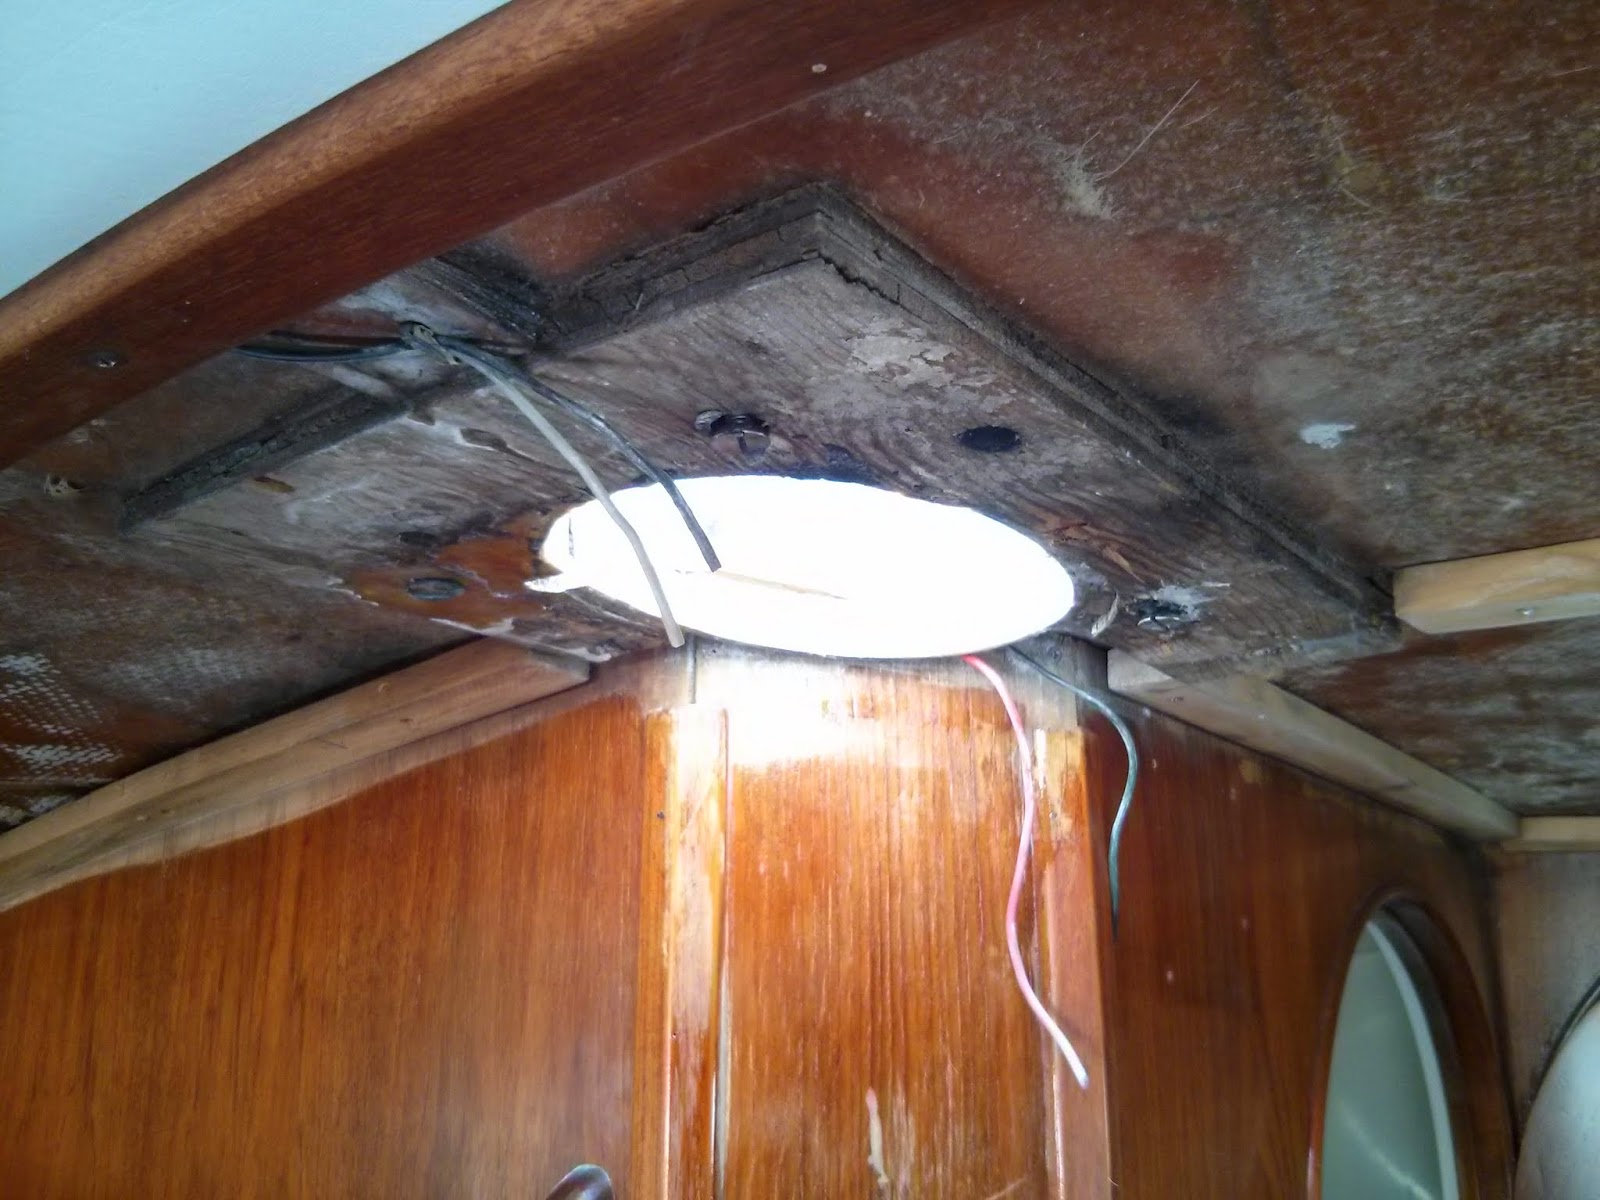
We suspected the thru-bolts for the mast collar were a
source of water intrusion. Removing the
headliner from the area below decks confirmed
our speculation.
 |
| Rotten plywood backing plate for mast collar. I believe the plywood is from the original Morgan construction. |
Not only did we reveal a major source of leaks we also
discovered the plywood backing plate for the mast collar was rotten. Not a little rotten mind you, but handle it
carefully less it disintegrate in your hands rotten.
Delicately removing the plywood, since I wanted to use it as
a template for the replacement, revealed both good and bad news…
 |
| Void are visible as darker brown areas along the aft (top) section of the opening. |
Bad news – the original deck fabrication included some voids
clearly visible from below. These need
to be filled.
Good news – the deck in this area is solid fiberglass. The leaks did not saturate any deck coring.
Using the original plywood as a template, I fabricated a new
backing backing plate from ¾” marine plywood.
 |
| The old plywood held together long enough to work as a template for the new piece. |
While test fitting the new piece, I realized that doubling
the thickness would extend the backing plate below the headliner. With the backing plate visible in the cabin
any future leaks would not be hidden by the headliner and go unnoticed until
damage was done. As a bonus the
additional material could only serve to add strength to the entire assembly. Thus I cut another identical section of plywood and laminated them together with thickened epoxy.
 |
| using a drum sander to clean up the inside radius of the now 1 1/2" thick backing plate. |
To avoid the possibility of future leaks damaging the
plywood backing plate, I drilled out the areas where bolts pass through and
refilled these sections with thickened epoxy.
 |
| 1" diameter epoxy plugs at the site of all the hardware that passes through the backing plate. |
To seal the exterior of the plate from moisture I applied
four coats of epoxy.
 |
| Backing plate complete and ready for bolt holes to be drilled through the epoxy plugs. |
Additional images and details are available in “Mast
Partner Repairs – 2014” photo album.
Check back soon for a
post on repairing the deck voids and re-installing the mast collar and new
backing plate.

No comments:
Post a Comment