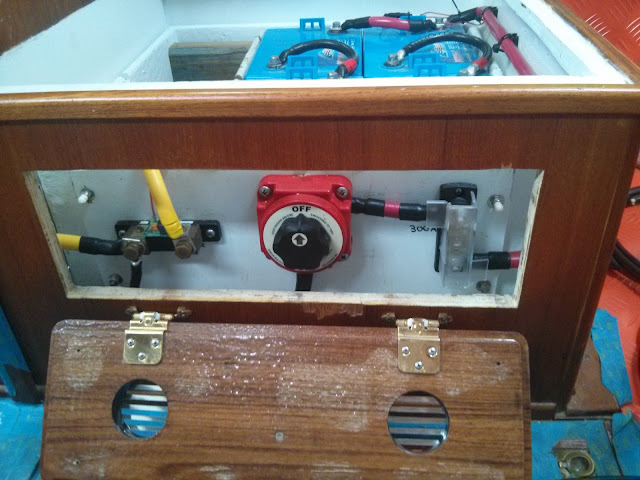
One of the
final components of re-locating the house battery bank was securing the
batteries.
Per Full River’s Specs
each 6V battery weighs in at approximately 66 pounds. Presently our house bank consists of four 6V
batteries = 264 pounds. We plan to
expand the bank to six 6V batteries = 396 pounds. Preventing this 400 pound mass from sliding
around during normal conditions is critical to the long term health of our
electrical systems. Eliminating the
possibility of this 400 pound mass from becoming a projectile in the event of a
knockdown is critical to life and limb.
We designed
the new battery box to fit snugly around the batteries. The fit will limit side to side and fore to
aft motion of the batteries.
 |
| Installing the new fiberglass over plywood battery box in the space under the center salon seat. |
The new
battery box is mechanically fastened, six ¼” counter sunk, flat head screws, to
the Morgan 382’s internal glass unit (IGU).
The IGU is a structural member in the Morgan’s hull that provides strength
to the hull and a mounting surface for the cabin sole.
Since we are
two batteries shy of our desired six battery house bank, we constructed temporary
filler to prevent the existing bank from sliding fore and aft.
 |
| Four 6V batteries plus the temporary filler in the new box. |
Ok, this set
up takes care of movement under normal conditions.
Next we
installed the system’s wiring.
 |
| House battery bank wiring complete. |
We installed
the wiring to allow space for bars to run across the top of the batteries. Initially I envisioned having some stainless
steel bars fabricated to fit across the space, but custom fabrication =
$$$. In the end we decided to keep it
simple.
We purchased
two 3’ long sticks of ½” diameter stainless steel all thread rod. 3’ was more
than enough length to span the distance across the top of the battery box and
thru both adjacent 3/4" plywood walls.
 |
| Using the 1/2" all thread rod to locate the hole on bulkhead aft of the battery box. |
We began by
drilling a ½” diameter hole in the plywood wall forward of the battery
bank. Running the rod through the hole and
across the top of the battery bank aided in locating the position for the hole on the wall aft
of the battery bank.
 |
| We sheathed the rods in 5/8" id hose. |
When re-installing the rods, we sheathed them
in 5/8” id hose to prevent chafe or the possibility of a loose wire shorting
out to the steel rod.
The ends of
the rods are secured with nuts on both ends.
 |
| Nuts and washers installed on the ends of the rods under the galley sink (center, right below black water pump). |
 |
| Nuts and washers installed on forward face, below the center salon seat. |
We are
confident the batteries are secure. The next
and final step in our battery re-location project is to fabricate a lid
for the new house bank installation.
Please check
out our Battery Re-location Photo Album for additional images and notes on this
project.


