Here is a link to Part One -
Adding
Tabbing to Starboard, Midship Bulkheads
Next step - cutting and test fitting sections of 1708 cloth.
 |
| test fitting a 36" section of 1708 cloth along the lower section of the bulkhead dividing the salon and forward cabin. |
The longest section requiring tabbing, the lower section of
the bulkhead separating the salon and forward cabin, was directly above the
greatest concentration of hairline cracks on the exterior of the hull.
The next bulkhead aft required less than a foot of new
tabbing at its base on the forward side.
The aft side of the same bulkhead required around 14” of tabbing in a
site previously hidden by a drawer.
 |
| Test fitting cloth in lower lockers forward of starboard salon seat / berth. |
I elected to also add a section of horizontal tabbing
between the hull and the ½” plywood shelf.
Since two of the three bulkheads in our current work zone
serve as anchor points for chainplates, we have elected to add tabbing between
these bulkheads and the deck.
 |
| Bulkhead / Deck joint just outboard of forward, lower chainplate prepped for tabbing. |
In the image above, the bulkhead / deck joint prepped for
tabbing is just outboard of the forward, lower chainplate. Also visible in the image above is a series
of countersunk #8 screws. The interior
of the larger lockers have ¼” plywood facade covering the ¾” structural
bulkhead. The original
tabbing is either installed directly to the structural bulkhead under the
façade or the 6” of the façade closest the hull is cut away.
I contemplated removing the façade, but elected to leave it in
place. My guess is the ¼” plywood is
bonded to the structural bulkhead with contact cement. To strengthen the layup I added a series of #8
wood screws anywhere tabbing was to be applied atop the ¼” plywood.
Anne mixed epoxy and wet out the cloth while I applied the
new tabbing.
 |
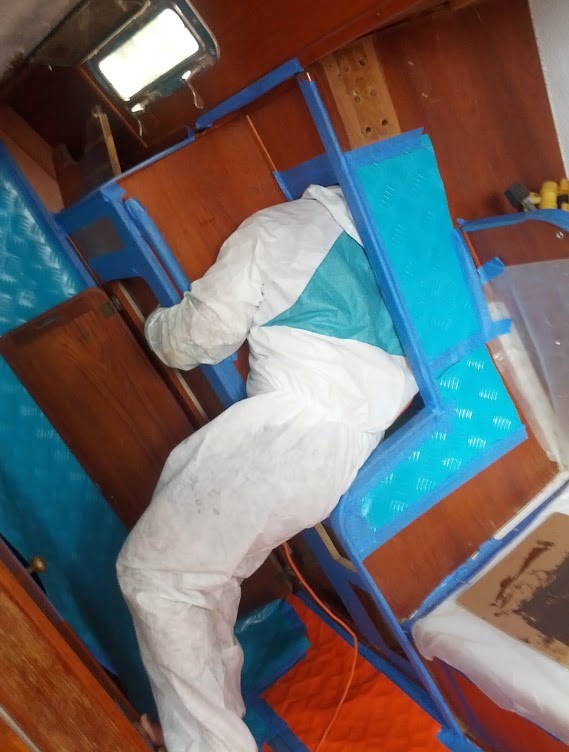
| The day the locker attacked Jeff. |
The smaller lockers proved quite awkward to access while
handling a sticky strip of fiberglass cloth.
 |
| new tabbing installed along bulkhead / deck joint just outboard of upper & cap shroud chainplate. The chainplate mounts in series of 6 holes visible in upper right of image. |
We added tabbing along all the bulkhead / deck joints in the
lockers.
 |
| new bulkhead / deck joint tabbing in large hanging locker opposite head. |
Also in short sections along both sides of the middle bulkhead that
bears the load from the lower, forward chainplate.
 |
| new tabbing in area previously hidden by drawer. |
And one 36” strip along the lower section of the bulkhead
dividing the salon and forward cabin.
 |
| New tabbing along lower section of bulkhead dividing salon and forward cabin. |
Next step for this area is to prime and paint the inside of
the lockers.
When we clear the cushions out of the forward cabin then
bulkheads / lockers in that area will undergo a similar treatment.
We will continue to add images from this project to our Starboard
Forward Lockers Photo Album.
Images and notes from all tabbing related repairs can be
found in our Tabbing
Repairs Photo Album.

No comments:
Post a Comment