
Yes we continue to make progress on the ice box. The aft
panel perimeter is on its third and hopefully final round of fairing.
Much more exciting changes are happening in the cockpit
locker. We just created a new photo album
devoted to the project – Cockpit
Locker Refit. We will continue to add new photos to the album as the project continues.
When we took possession of Pilgrim the vertical panel
dividing the engine compartment and the cockpit locker was held in place by
four bolts at the top and wood screws into the locker floor at the bottom. The locker floor tabbing had failed due to
poor construction techniques at the factory (the tabbing was bonded to gel coat
on the hull interior.) Thus the entire
assembly, hanging off the bolts atop, was able to swing a couple inches into the
engine compartment.
Once the tabbing cured on the new forward bulkhead we began
work on fabricating a new panel to divide the engine compartment and the
cockpit locker.
The effort began by using some scrap 1” X 2” to experiment
with the placement and size of the panel.
 |
| Experimenting with the size and position of the panel. |
Once satisfied with the concept we marked out the location
of the panel along the hull.
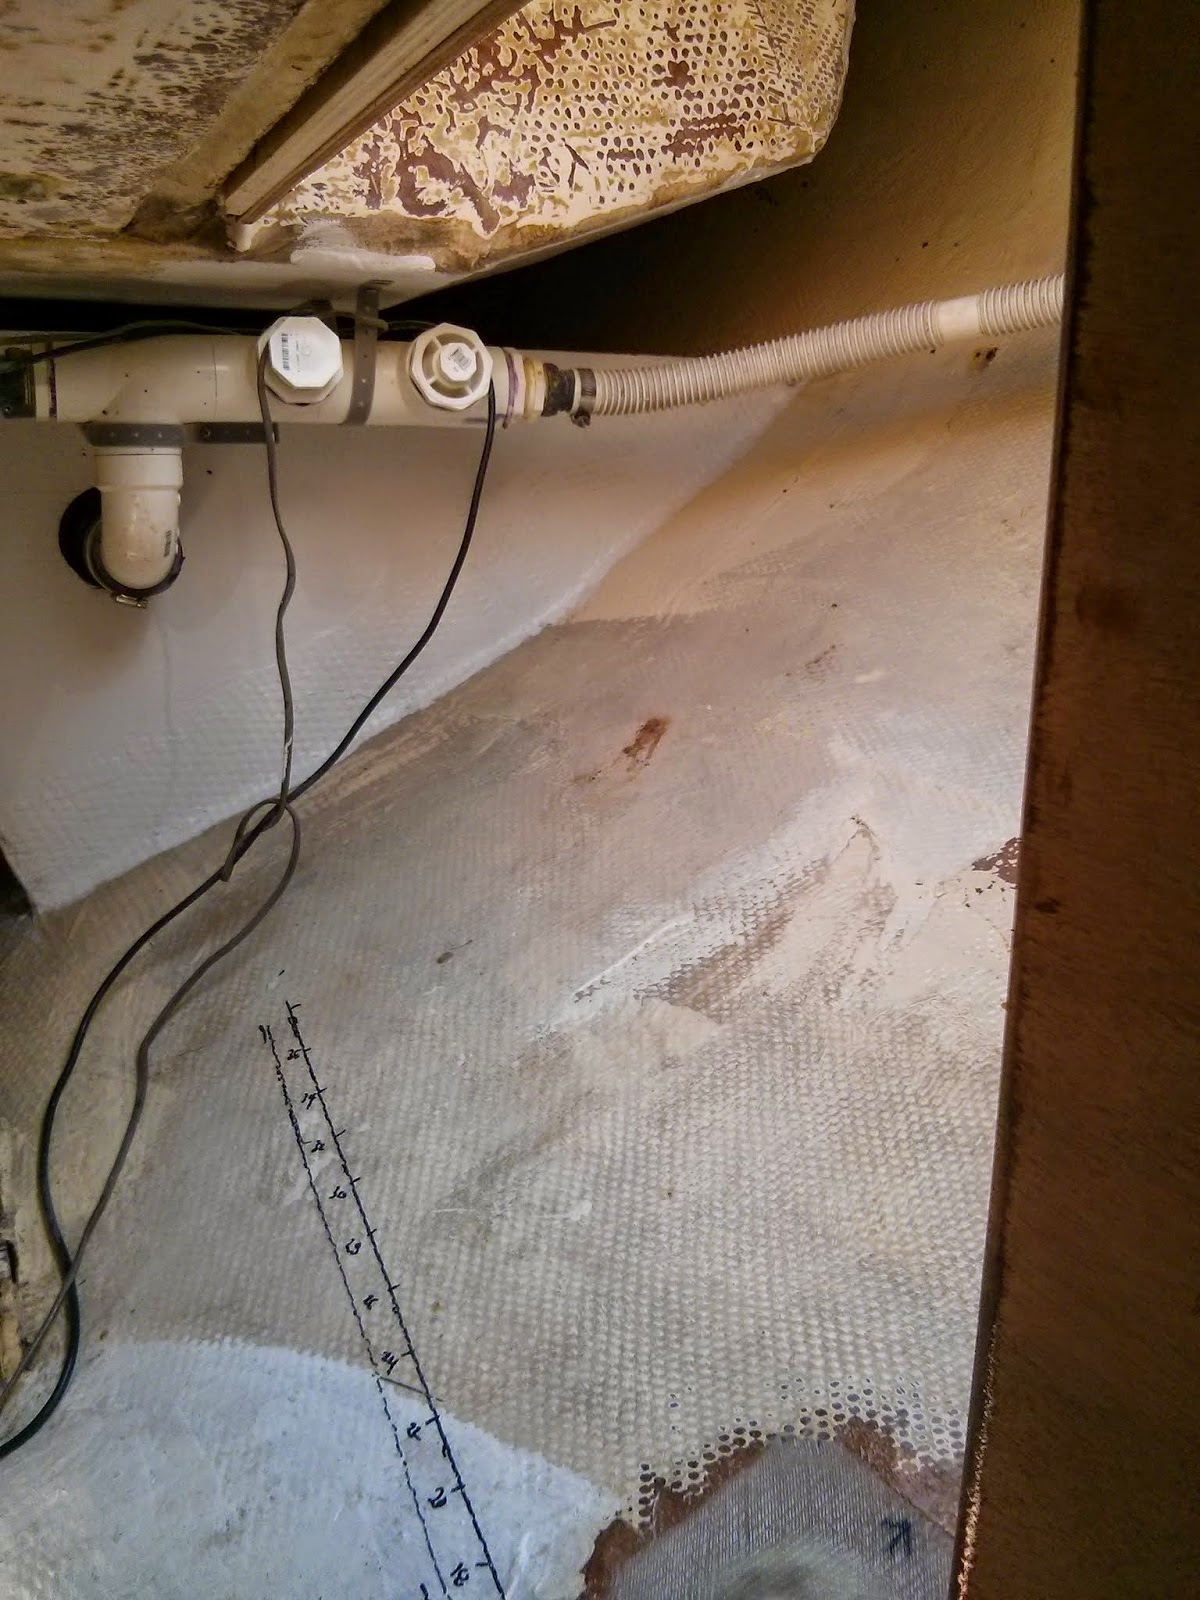 |
| The desired location marked on the hull and divided into two inch segments. |
Dropping and measuring a plumb line from the panel above at
two inch increments gave us the data we needed to transfer the curve of the
hull to the new plywood divider.
 |
| Transferring measurements taken inside the boat to the 1/2" plywood. |
The effort produced a good fit.
 |
| Test fitting the new panel... we are pleased with the results. |
Next we cut a large opening in the center of the panel. This opening will provide engine access via
to removable hatches.
 |
| Clamping the hatch frames in place. |
After creating a frame to hold the hatches in place we
tabbed the new panel in place along the hull.
 |
| Tabbing, directly to bare fiberglass, on both sides of the new panel anchor it to the hull. |
And to the vertical side wall of the cockpit at the top.
 |
| Single layer of tabbing and three thru bolts secures the top of the new panel. |
We installed new bolts in three of the four original holes
across the top. This made the
installation easier and adds an additional measure of structural integrity to
the assembly.
With the vertical panel in place we are able to begin laying
out the new cockpit floor and other pieces of new cockpit locker cabinetry.
 |
| Test fit of locker floor and template for small partial bulkhead aft. |
More images and notes from this on-going project are
available in the Cockpit
Locker Refit Photo Album.
No comments:
Post a Comment